Getting Started with the GUI
This manual assumes you have already installed the packages and dependencies for PyLorentz. If you have not, follow the instructions here. The getting started page helps explain:
Activation of the conda environment for PyLorentz
Layout of the image directory for alignment and reconstruction
Setup of the *.fls file(s)
Running the GUI
- Navigate to the
/PyLorentz/GUIfolder. - Run
$ conda activate <PyLorentz_Env> - Run
$ python PyLorentz_GUI.py
The GUI may take a few moments to begin, especially on the first run.
__*Note for Mac Users__
Finder may jump to the front of the screen if it is open. This is ok, it is a process that enables the menu options of PyLorentz specifically for Mac that are inherently capable on Windows.
The GUI
Menu
The menu has links to opening the main PyLorentz documentation, gives access to opening and closing the log, and has a link to opening this manual.
Home
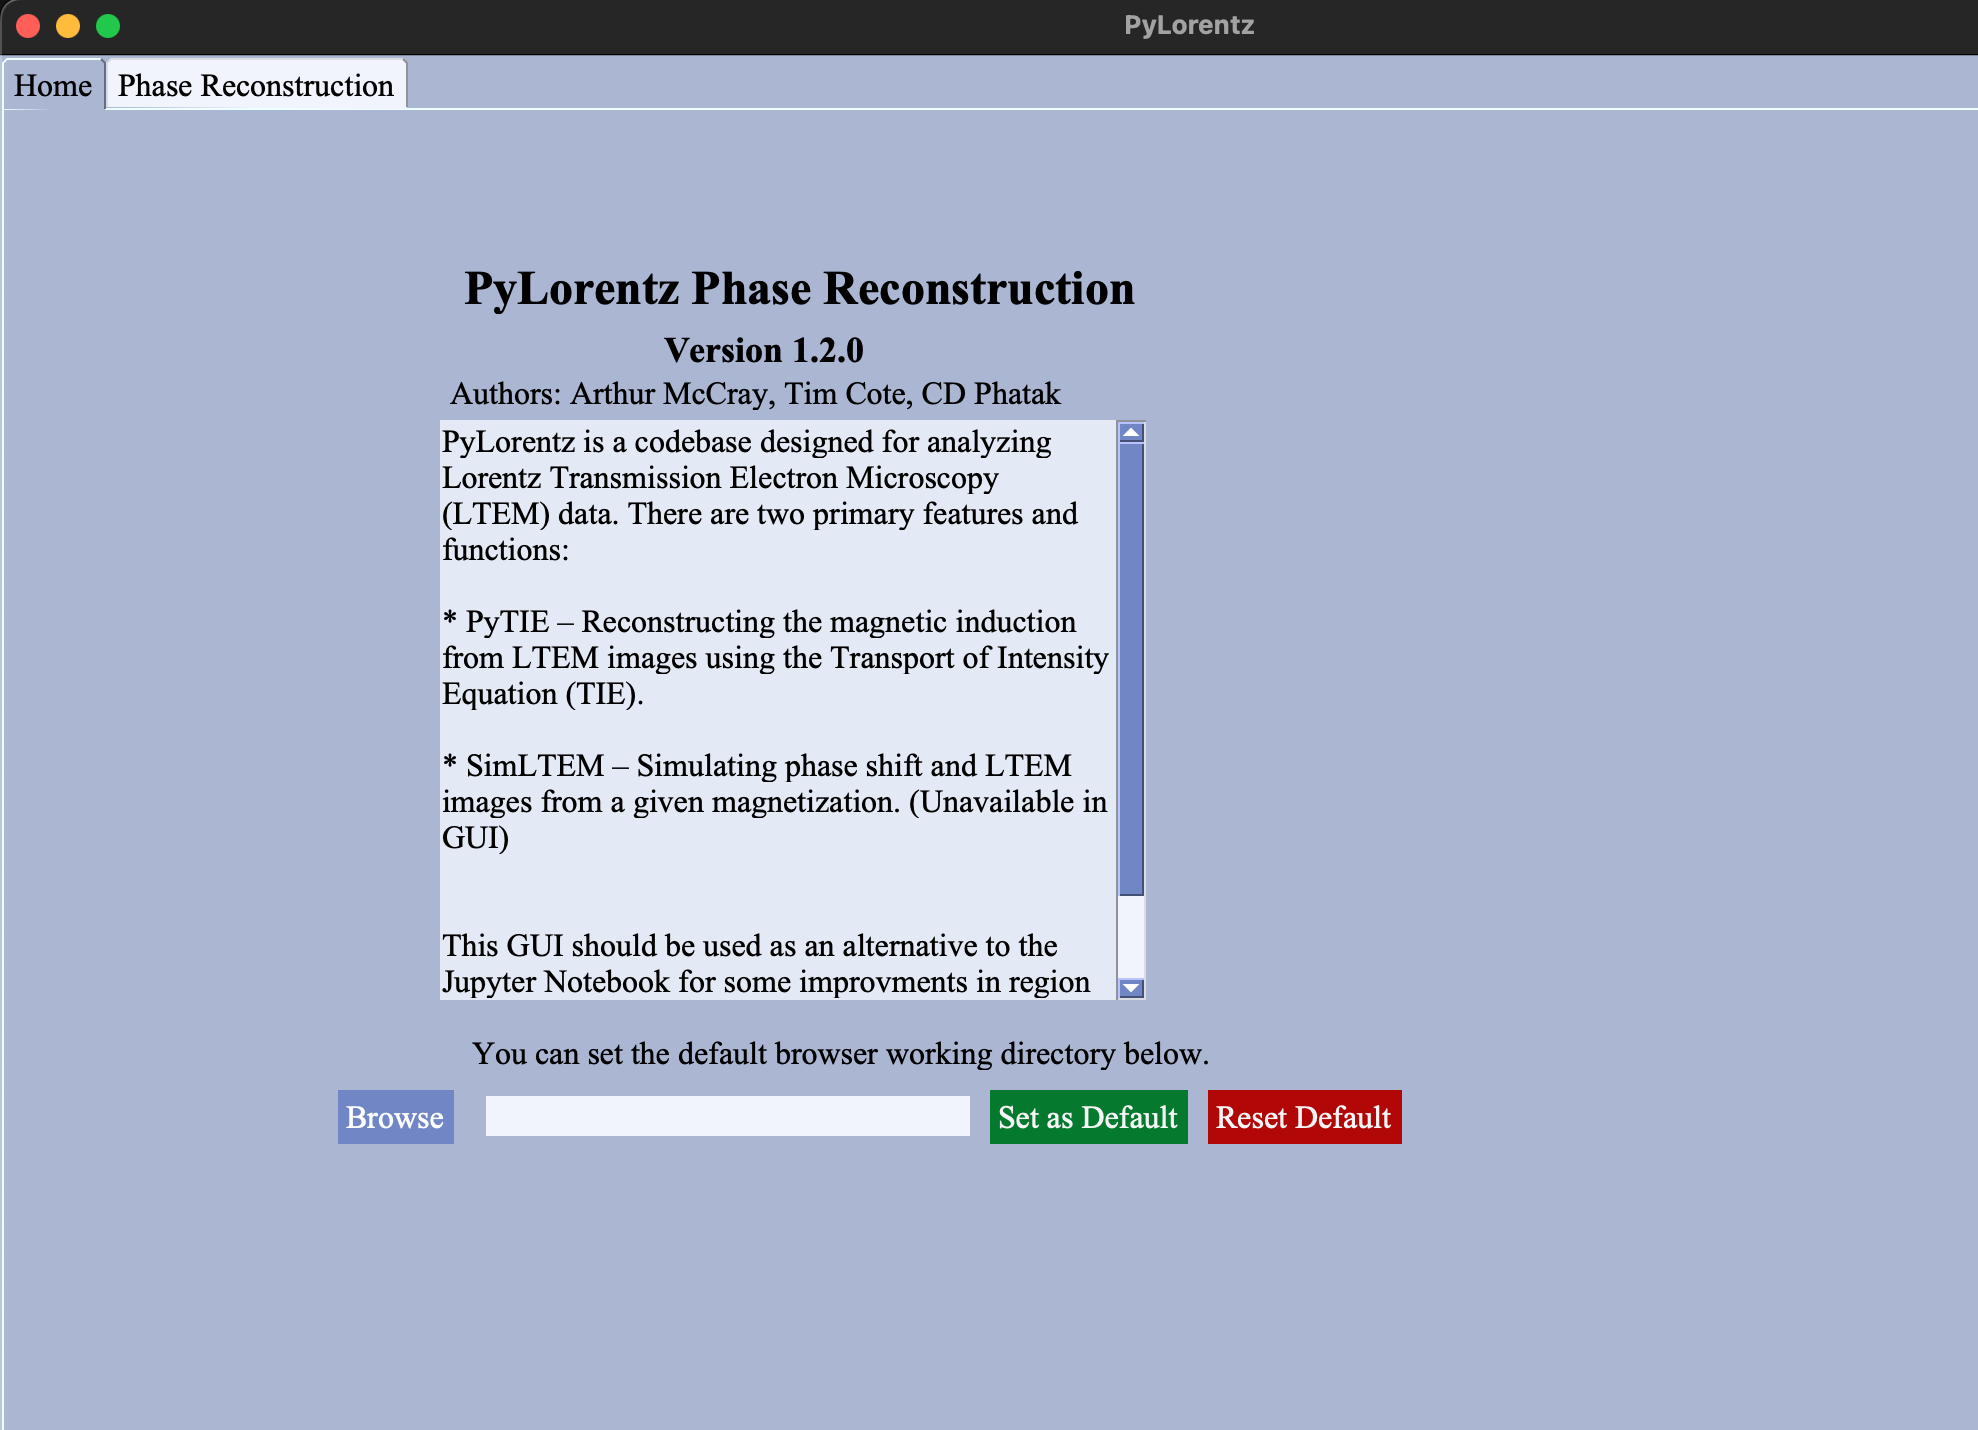
Setting Defaults
Browse (2)Navigate to and select an image working directory.Set as Default (2)Saves the working directory path in thedefaults.txtfile. On subsequent uses of the GUI, the default working directory input field will be filled as well as the working directory input fields for theRegistrationandReconstructiontabs.Reset Default (2)Clears the working directory from thedefaults.txtfile.
Reconstruction
The GUI version of the jupyter notebook meant for solving the transport of intensity equation (TIE) and finding magnetic induction from an experimental through focal series (tfs) of TEM images.
Compared to the notebeook, the GUI has better capabilities of manipulating the ROI for the returned reconstructed images and allows easier viewing of the images as well. The capabilities of the reconstruction itself are the same.
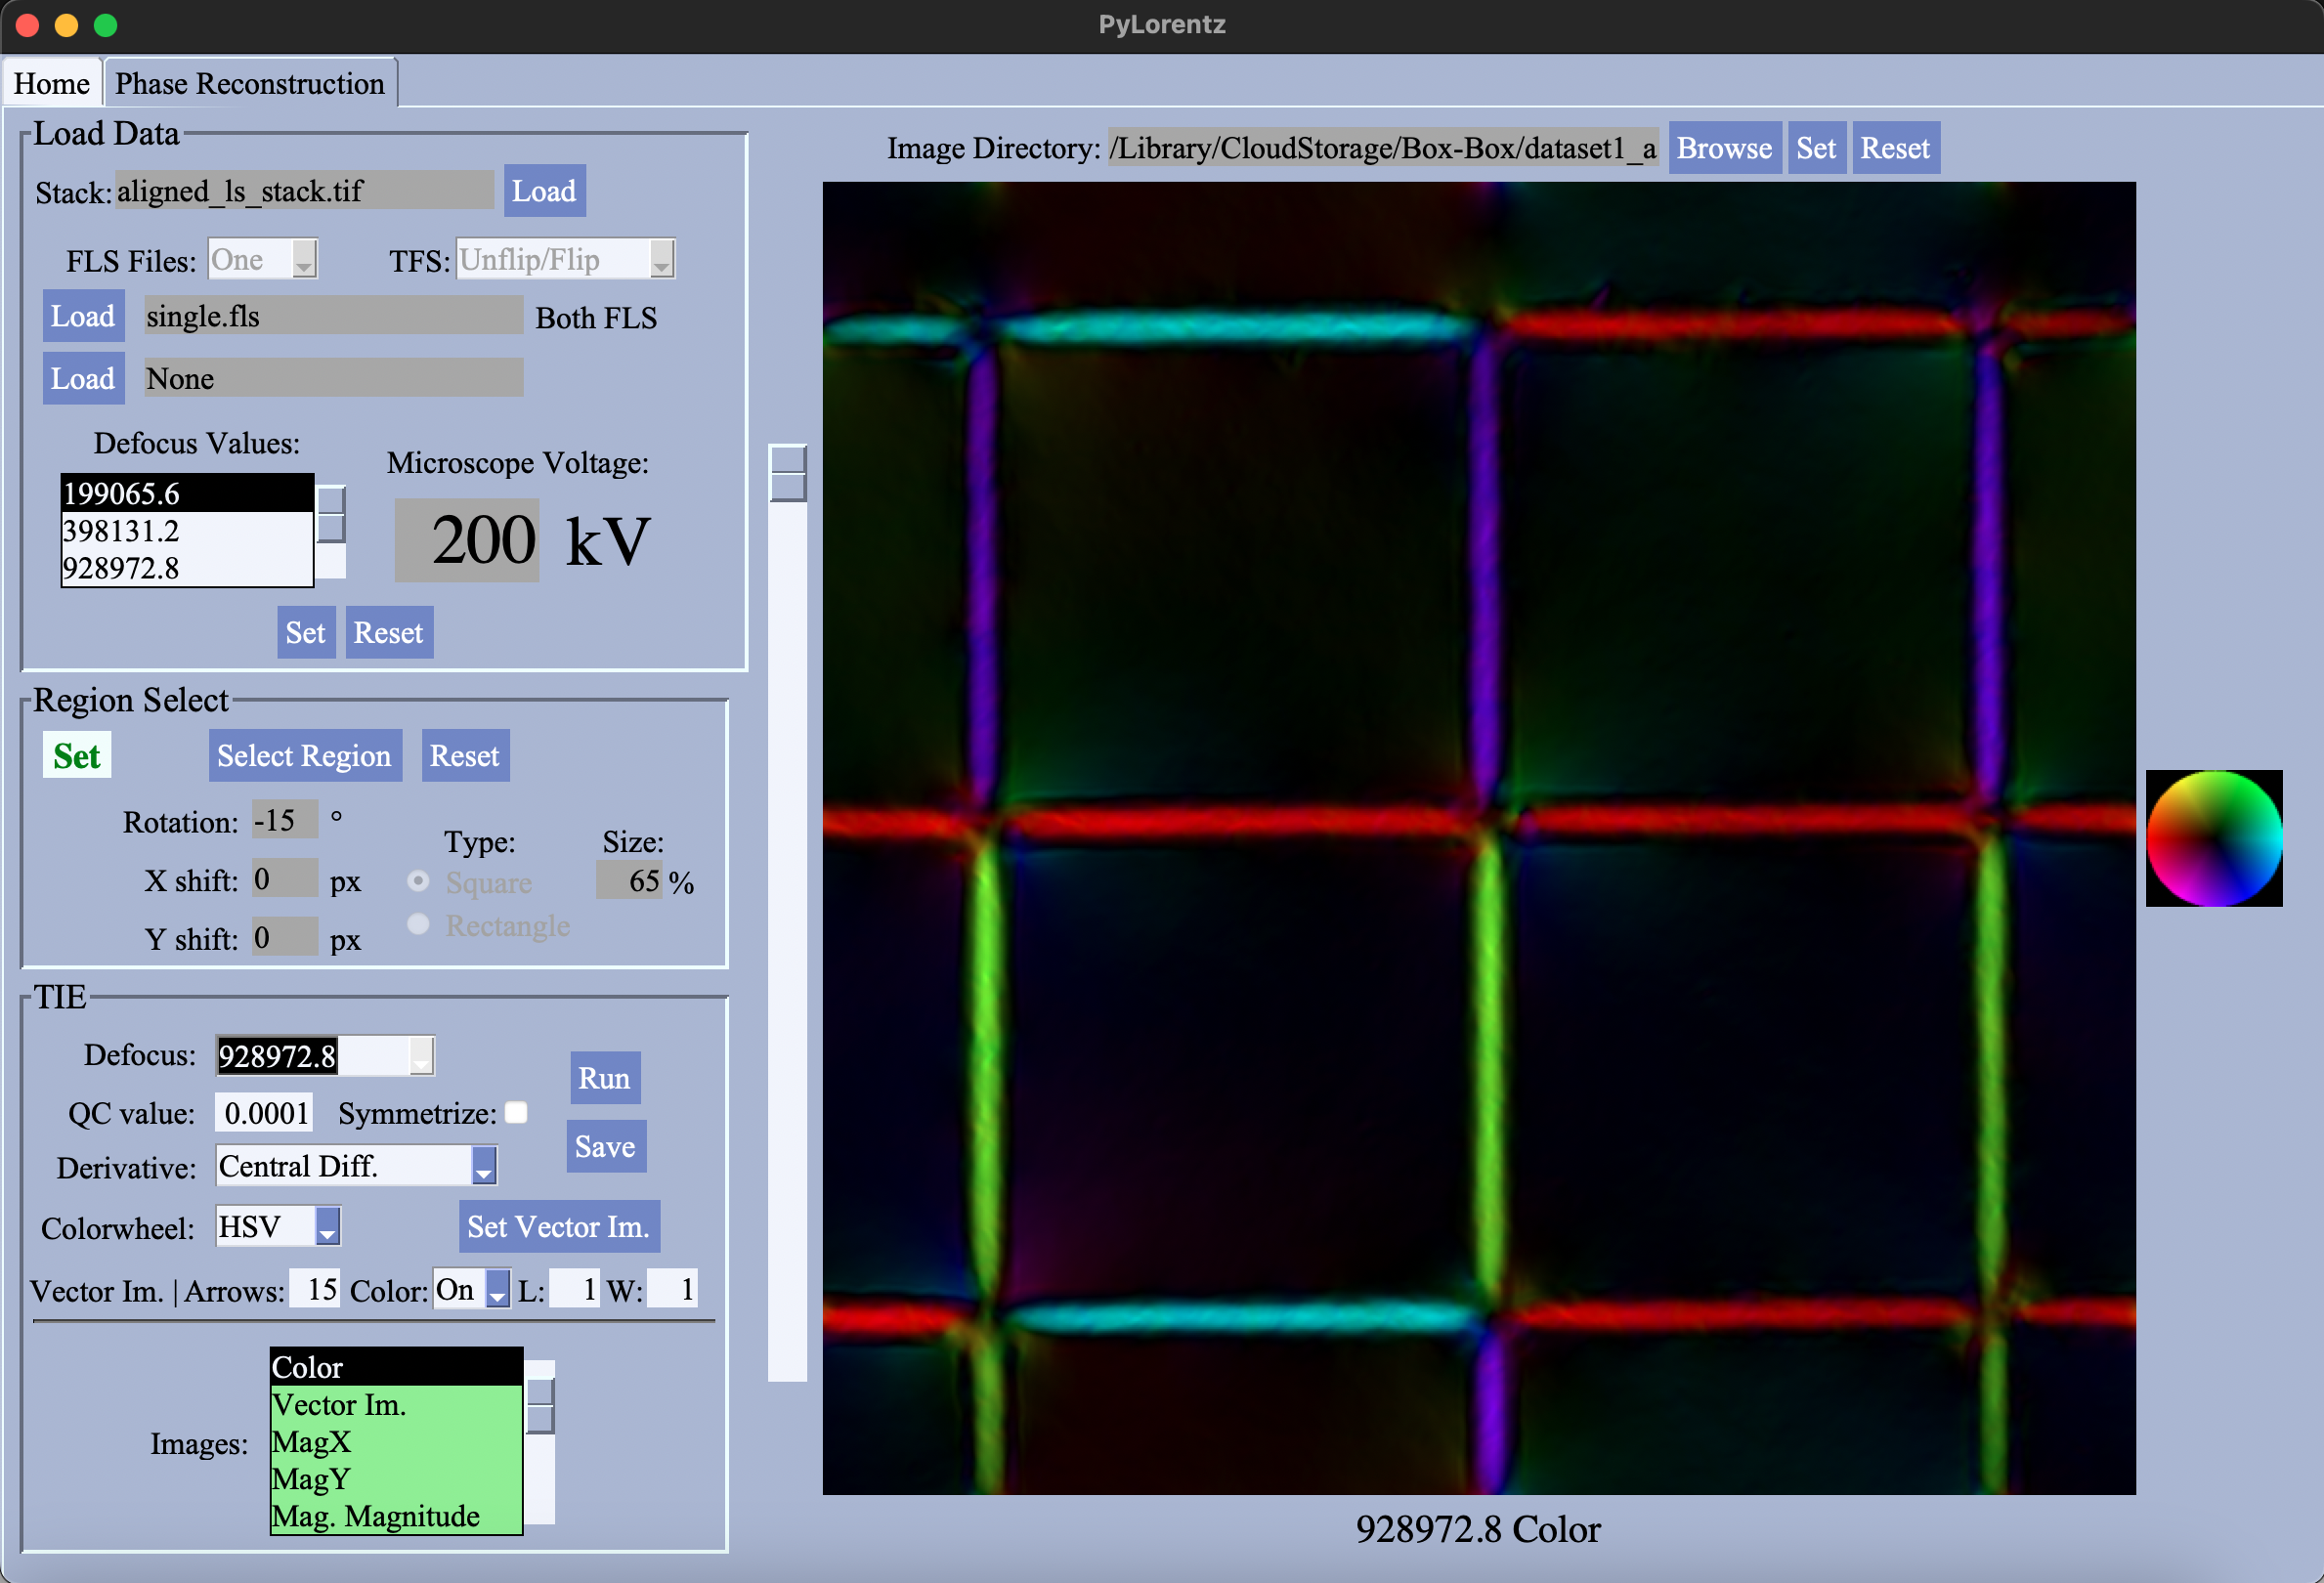
HOW TO USE: 1. Set the image working directory. This will allow access to the FLS Frame and Set FLS. 2. Load an aligned image stack. 3. Load *.fls files. Choose whether to perform a double-sided (unflip/flip) tfs alignment or a single-sided tfs alignment (tfs). Then select the number of *.fls files to use. When *.fls file(s) have been chosen, Set FLS will become enabled. - If one *.fls file is used for a double sided alignement, the file names must be the same in both the unflip
and flip folders. - The *.fls file and the tfs selection should match the stack. Ie. loading a stack aligned with bUnwarpJ won’t work if the tfs value is ‘Single’. Any errors with selection of stack and *.fls files will appear in the Log. - Sometimes the file won’t register when loading is selected, try selecting it again if it doesn’t appear after selection. 4. Set the accelerating voltage for the microscope, and click Set FLS. This will initialize the PTIE parameters. 5. Once
initialization is complete, the ROI of the stack will be reduced as only areas common to all images will appear in a reconstructed image. 6. (Optional) Adjust the selected region of interest by clicking Select Region. A mask can be applied along with rotations/translations to the images in the stack. The size of the mask can be adjusted and it can be moved around the display by dragging the center of the mouse on the display where the center of the mask should be. Reset any changes using
Reset. If a mask region is selected, the ROI on display in the graph will be reduced, indicating this will be the region for reconstruction. 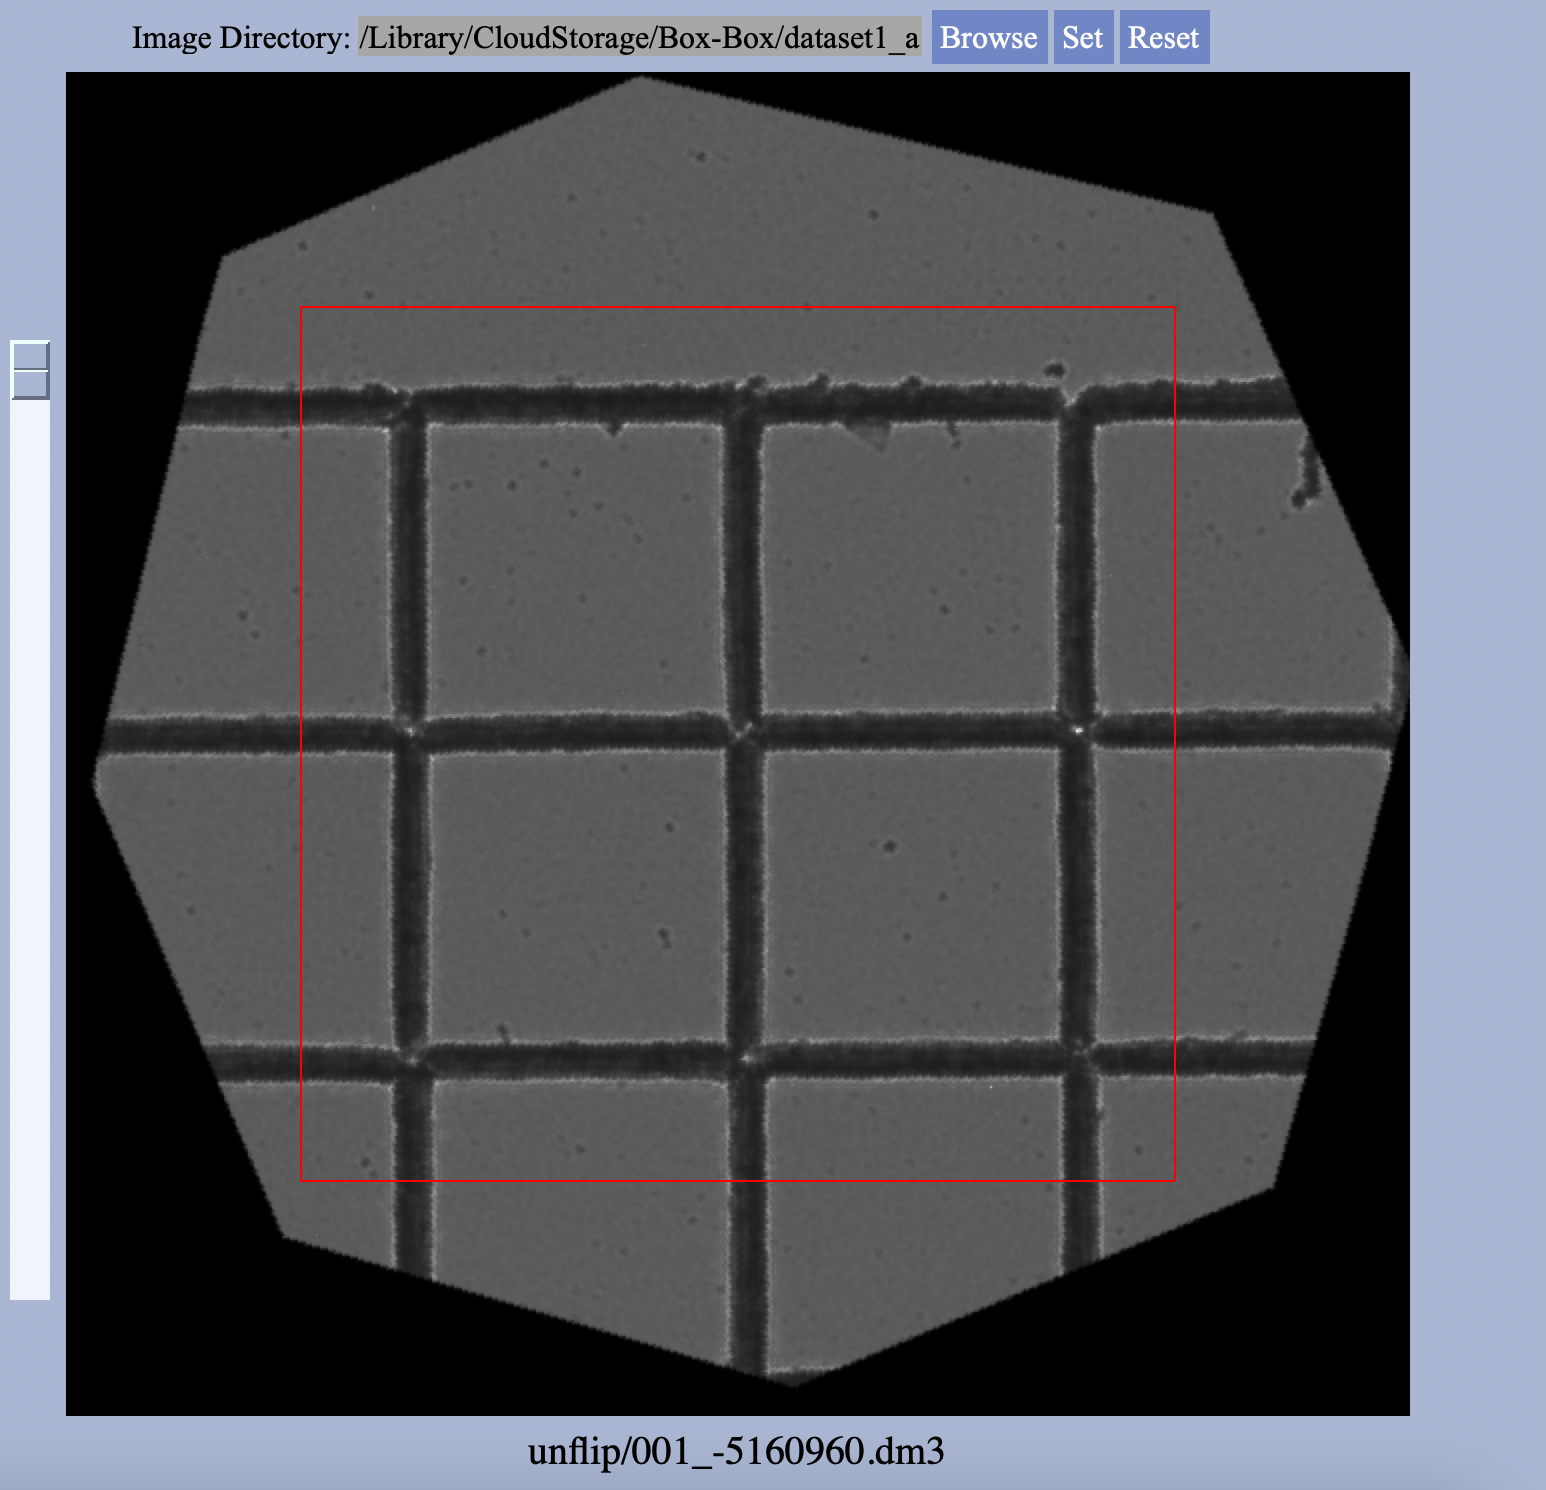 7. Choose the parameters for the reconstruction. Select betweehn the different defocus values, the QC value, symmetrization, the type of the colorwheel, etc. When satisfied click
 Run. After a few moments the images will be loaded and can ve selected in the Image Choices box. View the images by selecting those highlighted in green. - Image not
highlighted in green can’t be viewed. For a single-sided tfs, neither the electrostic phase or electrostatic derivative can be viewed. - Refer to the PyTIE template notebook for or wiki for more information on the reconstructed images. 8. If satisfied with the images, they can be saved. No images will be saved if Save is not clicked and the window is exited. If files will be overwritten, it must be agreed to by the user. A prefix for labeling the images can be set. There are different
options for saving different images. - The color image only. - The color image, x-magnetic induction, y-magnetic induction and vectorized magnetic saturation plots. - All images will be saved. - No imags will be saved.
Log
The log keeps track of any output, misclicks or errors that occur while using the GUI. It is useful for keeping track of which tabs have been entered for any documentation of errors by noticing the different prefixs:
- HOM: Home Tab
- REC: Reconstruction Tab
The log should be the first place ot check if you expected something to happen and don’t know why it happened. The log can be accessed from the Menu or by pressing Control + l on your computer. It can be easily hidden with Control + h. 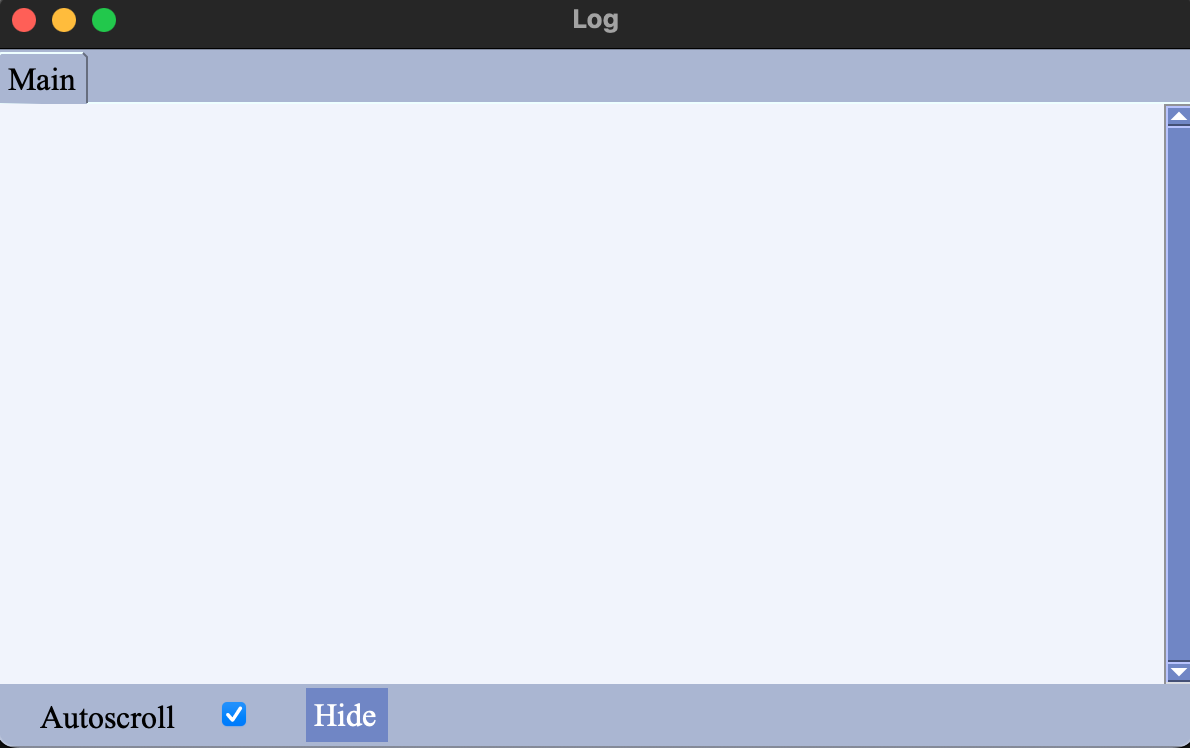
Final Notes
- The intensive processes of the GUI are handled in threads, so it is completely possible to run a reconstruction while running an alignment.
- The Log can serve as your guide for any issues an error. If you can’t solve your error from the Log message, take a look at the contents of your file setup and the contents of the *.fls file. If your problem keeps repeating, log an issue to PyLorentz Github.